> For the complete documentation index, see [llms.txt](https://docs.besmart.software/llms.txt). Markdown versions of documentation pages are available by appending `.md` to page URLs; this page is available as [Markdown](https://docs.besmart.software/3d-modeling-and-design/wood-framing/common/wood-metal-framing/sheating-and-paneling-layouts/paneling-configuration-paneling-layout.md).
# Paneling Configuration – Paneling Layout
### Parallel or Perpendicular to Stud/Joist

**Parallel, Perpendicular to Stud/Joist** – select if panels should be parallel or perpendicular to the studs or joist.
*Example with wall:*

*Example with floor/roof:*

### Bottom/Base Extension, Top/End Extension

**Bottom/Base Extension, Top/End Extension** – adds an offset from the wall/floor/roof base or end.
*Example with wall:*

*Example with floor/roof:*

### Sloped Bottom/Base Extension, Sloped Top/End Extension

**Sloped Bottom/Base Extension, Sloped Top/End Extension** – add an offset from the wall/floor/roof base or end for sloped walls/roofs/floors.
### Division Horizontal/Vertical Offset

**Division Horizontal/Vertical Offset** – adds division offset from the wall/floor/roof bottom or left side.
*Example with wall:*

*Example with floor/roof:*

### Second Row Overlap Distance

**Second Row Overlap Distance** – overlap distance between paneling layouts if **Perpendicular to Stud/Joist** is ticked.
*Example with wall:*

*Example with floor/roof:*

### Placement Direction

**Placement Direction** – predefine paneling direction: From Start, From End or From Both Sides. Make sure that **Complete Sheets in First Row** is switched on.
*Example with wall:*

*Example with floor/roof:*

### Add First/Last Split Line

**Add First/Last Split Line** – adds the split profile into the first or last panel.

### Align with Studs/Joists

**Align with Studs/Joists** – aligns panels with studs/joists.
*Example 1 with wood frame:*

*Example 1 with metal frame:*

*Example 2:*
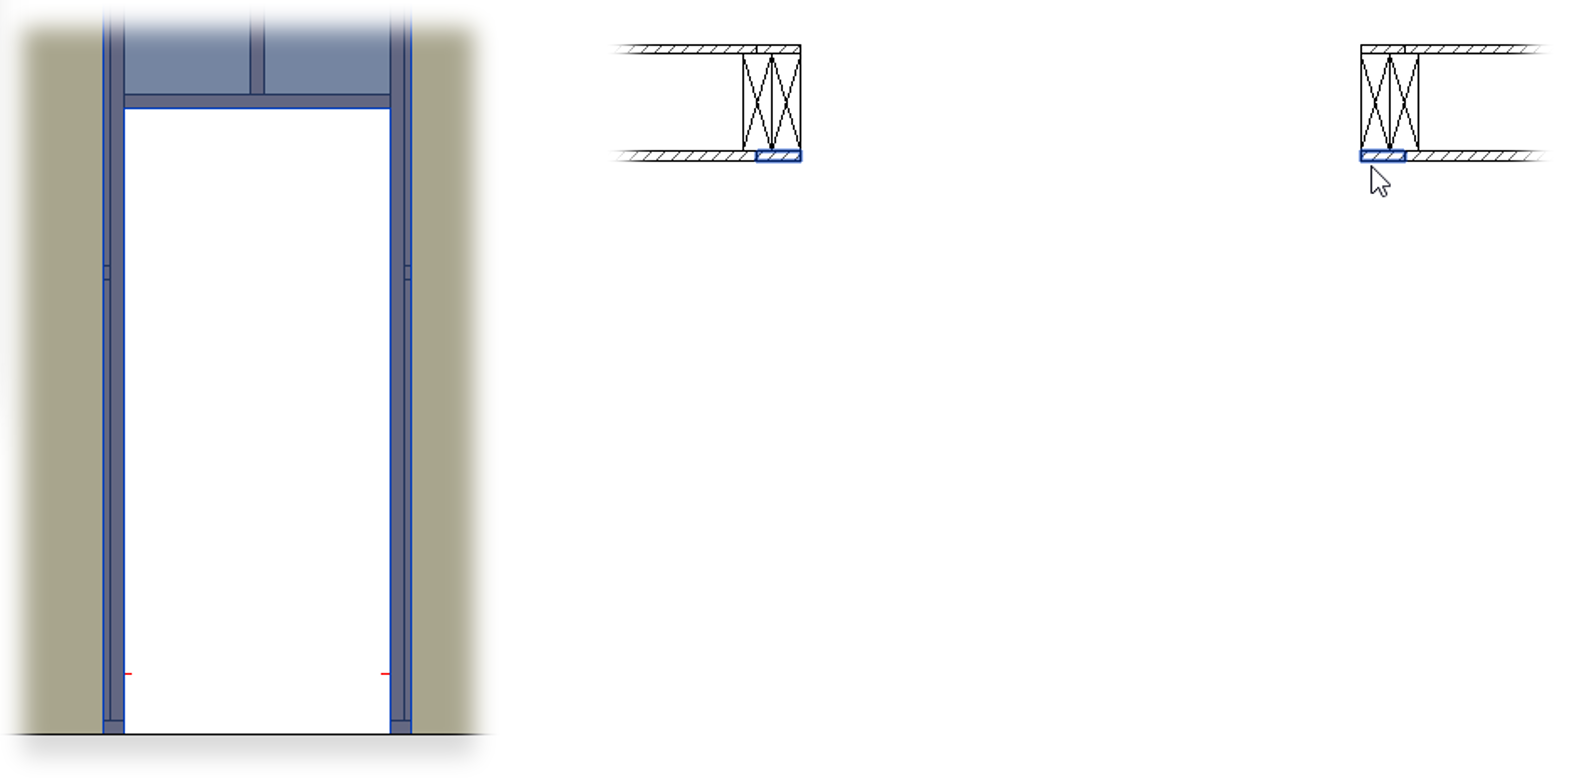
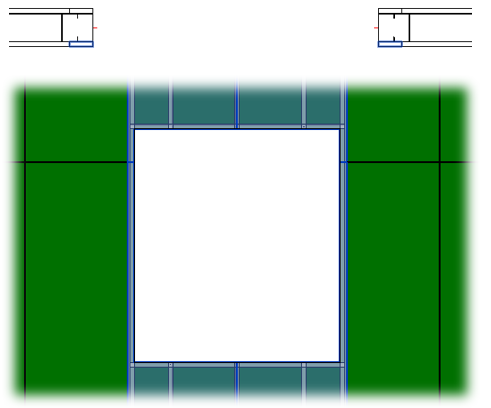
### Allow to Split on Second King/Joist
**Allow to Split on Second King/Joist** – splits the panels on the second king or joist of the opening.
*Example with wood frame:*
*Example with metal wall frame:*
*Example with metal floor frame:*
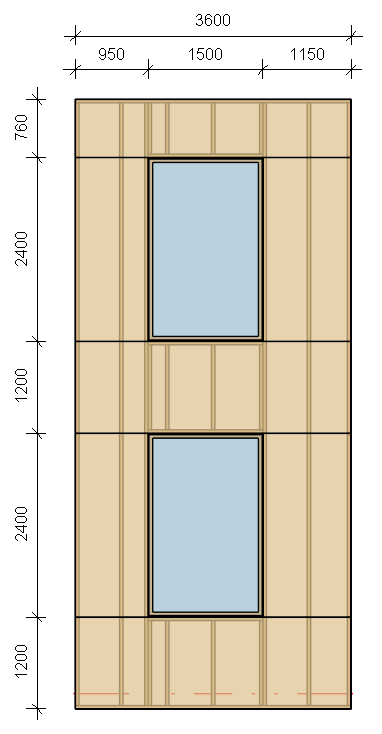
### Always Try to Merge Parts
*Example: Let’s split parts by openings horizontally and set the horizontal direction for merging:*
*If we were to increase the paneling dimensions to 4000 x 1200 mm, we’d get this result:*
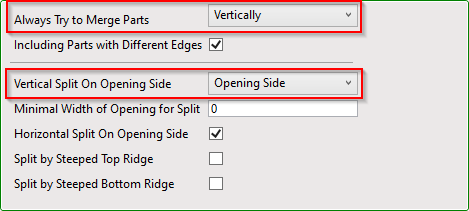
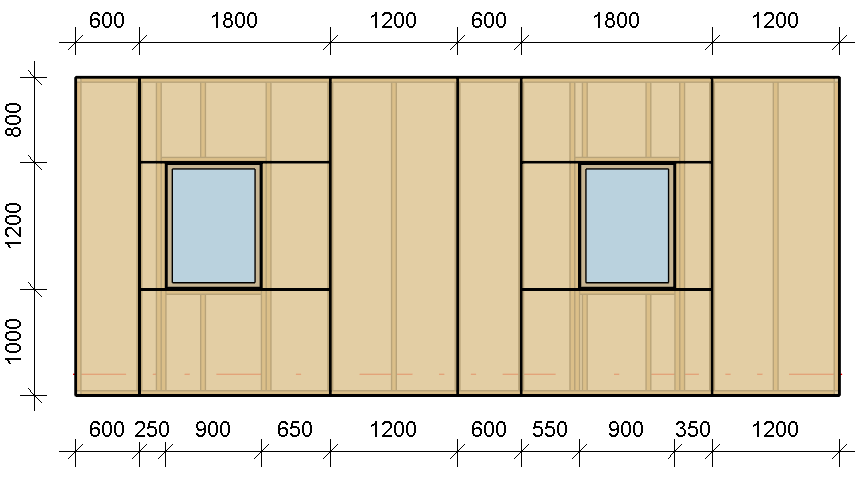
*Let’s try setting the paneling dimensions to 3000 x 1200 mm for another wall/floor/roof, but this time, we‘ll split the paneling vertically, add vertical splits on the opening sides, and set the vertical prioritization for merging:*
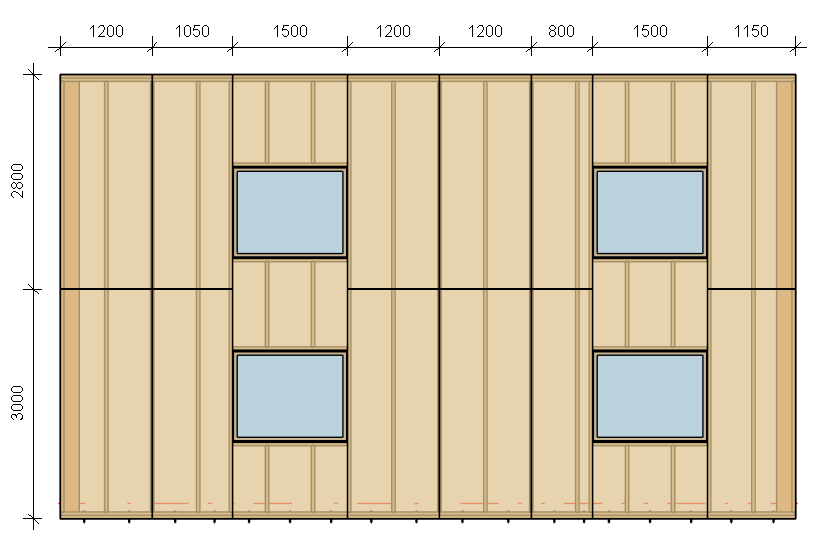
*Also, we can predefine the paneling dimensions to 3000 x 1200 mm, split the paneling vertically, add horizontal splits and vertical splits on the nearest opening king, and set to horizontal prioritization for merging:*
*Here are the above settings applied to two different walls/floors/roofs:*
### Vertical Split on Opening Side
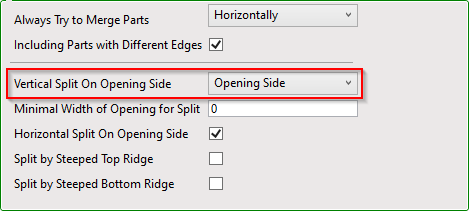
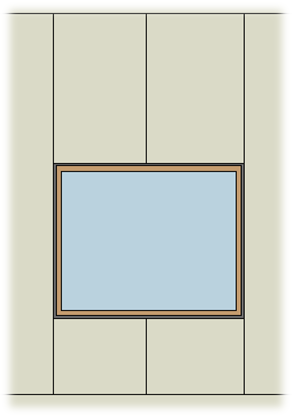
**Vertical Split on Opening Side** – splits panels on the side of the opening, the nearest stud/joist, or the nearest king if top and bottom trimmers are predefined in the **Opening Framing**.
*Example with floor frame:*
*You can predefine top and bottom trimmers under **Floor+** → **Configs → Framing Configuration** → **Opening Framing**:*
*Example with metal wall frame:*
*You can predefine top and bottom trimmers under **Wall+** → **Configs → Framing Configuration** → **Opening Framing**:*
### Minimal Width of Opening for Split
**Minimal Width of Opening for Split** – define the minimum opening width for which splitting is applied.
*Example: If the opening width is less than the predefined value, then there will be no splits around the opening:*
*If the opening width is more than the predefined value, then there will be splits around the opening:*
### Horizontal Split on Opening Side
**Horizontal Split on Opening Side** – define whether the panels must be split horizontally around the opening.
*Example: **Horizontal Split on Opening Side** is ticked OFF:*
*Example: **Horizontal Split on Opening Side** is ticked ON:*
### Vertical/Horizontal Split by Parameter – Split Part
*In order to activate all these features, **Align with Studs/Joists** and **Split by "Split Part Priority"** must be switched OFF.*
**Vertical/Horizontal Split by Parameter – Split Part** — splits panels vertically by the **Split Part** parameter from stud or joist.
In order to activate the **Split Part** parameter, you have to open **Type Properties** of the stud or joist family and add **Part Split Number**. **Wall+/Floor+/Roof+** will know where to split the panel, for example, every 4 studs or joists.
There are special families provided together with **Wall+**, **Floor+**, **Roof+**, which can be used for splitting panels vertically or horizontally :
***M\_WF Part Split Stud-Joist** (Metric for vertical splits)*
***I\_WF Part Split Stud-Joist** (Imperial for vertical splits)*
***M\_WF Part Split Bridging** (Metric for horizontal splits)*
***I\_WF Part Split Bridging** (Imperial for horizontal splits)*
*Result: Panels are split by vertical and horizontal studs/joists and bridgings.*
*Example: If the horizontal bridgings should be short, then please make sure **Perpendicular to Stud/Joist** is selected. In such case, **Wall+**, **Floor+**, **Roof+** will split the segments vertically first and then horizontally.*
### Complete Sheets in First Row
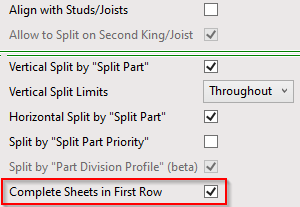
**Complete Sheets in First Row** – reverses panel placement direction. If **Placement Direction** is set to **From Start** and **Complete Sheets in First Row** is OFF, then the placement direction will be from end.
This option should be used when there are a few insulation layers.
---
# Agent Instructions
This documentation is published with GitBook. GitBook is the documentation platform designed so that both humans and AI agents can read, navigate, and reason over technical content effectively. Learn more at gitbook.com.
## Querying This Documentation
If you need additional information that is not directly available in this page, you can query the documentation dynamically by asking a question.
Perform an HTTP GET request on the current page URL with the `ask` query parameter, and the optional `goal` query parameter:
```
GET https://docs.besmart.software/3d-modeling-and-design/wood-framing/common/wood-metal-framing/sheating-and-paneling-layouts/paneling-configuration-paneling-layout.md?ask=&goal=
```
`ask` is the immediate question: it should be specific, self-contained, and written in natural language.
`goal` is optional and describes the broader end goal you are ultimately trying to accomplish on behalf of the user. GitBook uses it to tailor the answer towards what is most useful for that goal.
The response will contain a direct answer to the question and relevant excerpts and sources from the documentation.
Use this mechanism when the answer is not explicitly present in the current page, you need clarification or additional context, or you want to retrieve related documentation sections.